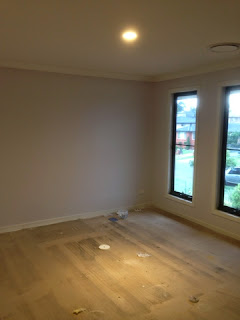
A lot of work being done to the outside at the moment. Levelling out the front and backyard. Trenches dug out and ready for the footing of the fence. Had no idea how to move the pallets of bricks without a fork lift. Kinda had to work around it, luckily it wasn't really in the way.
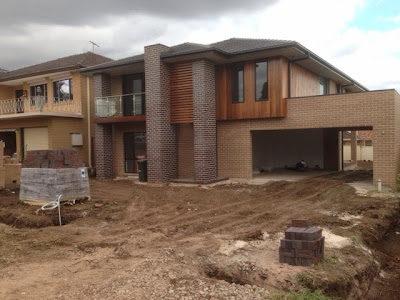 |
| Front |
 |
| Back |
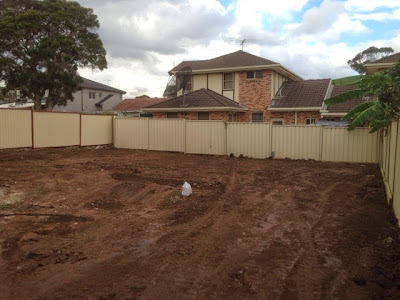 |
| Backyard |
As for the inside, the electrician was able to install all the downlights today. Lots of batten light holders switched out to surface sockets. Now, I won't need an electrician to come out and switch any individual downlight in the future. Simply unplug and plug in the new ones.
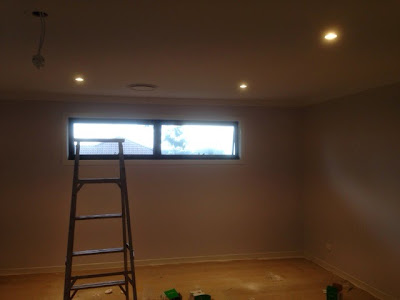 |
| Brightgreen D900 in Main Bedroom |
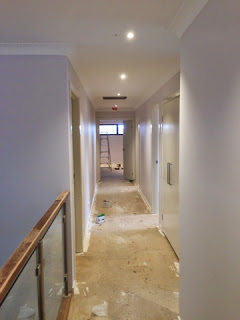 |
| Brightgreen D700 in Hallway |
 |
| Brightgreen D400 over vanity |
I was a little worried at firstabout having different sized downlights throughout the house. However, I think it turned out alright. Will try to take some night shots when I can. Definitely alot better in real life.
 |
| Wattsaver DL16 in Bedroom 2 |
 |
| Labelled switches |
He was also kind enough to switch out all the buttons in all the bathroom to ones with labels, free of charge. That was a nice gesture and will definitely come in handy.
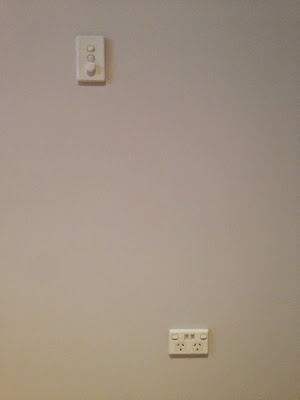 |
| Dimmers and SockItz |
A bit hard to see, but here's a shot of the dimmer dial (Luxman T400P trailing edge) and the SockItz power socket with USB charging ports. The combination of these downlights and dimmer dial, means the lights can be dimmed all the way down to 0% without flickering. I would recommend these to anyone looking to purchase lights and dimers.
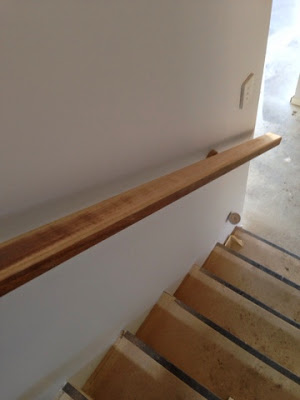 |
| Sanding |
In the meantime I spent most of the days sanding down the stairs handrail. I think this is going to take me a couple of more days to finish.


